Showing posts with label A-line skirt. Show all posts

Monday, September 9, 2013

The Sugar Plum Skirt

My Friend From the Wedding Dress Shop (FTWDS) came over so we could work on the Sugar Plum Skirt together. 

Pattern Drafting

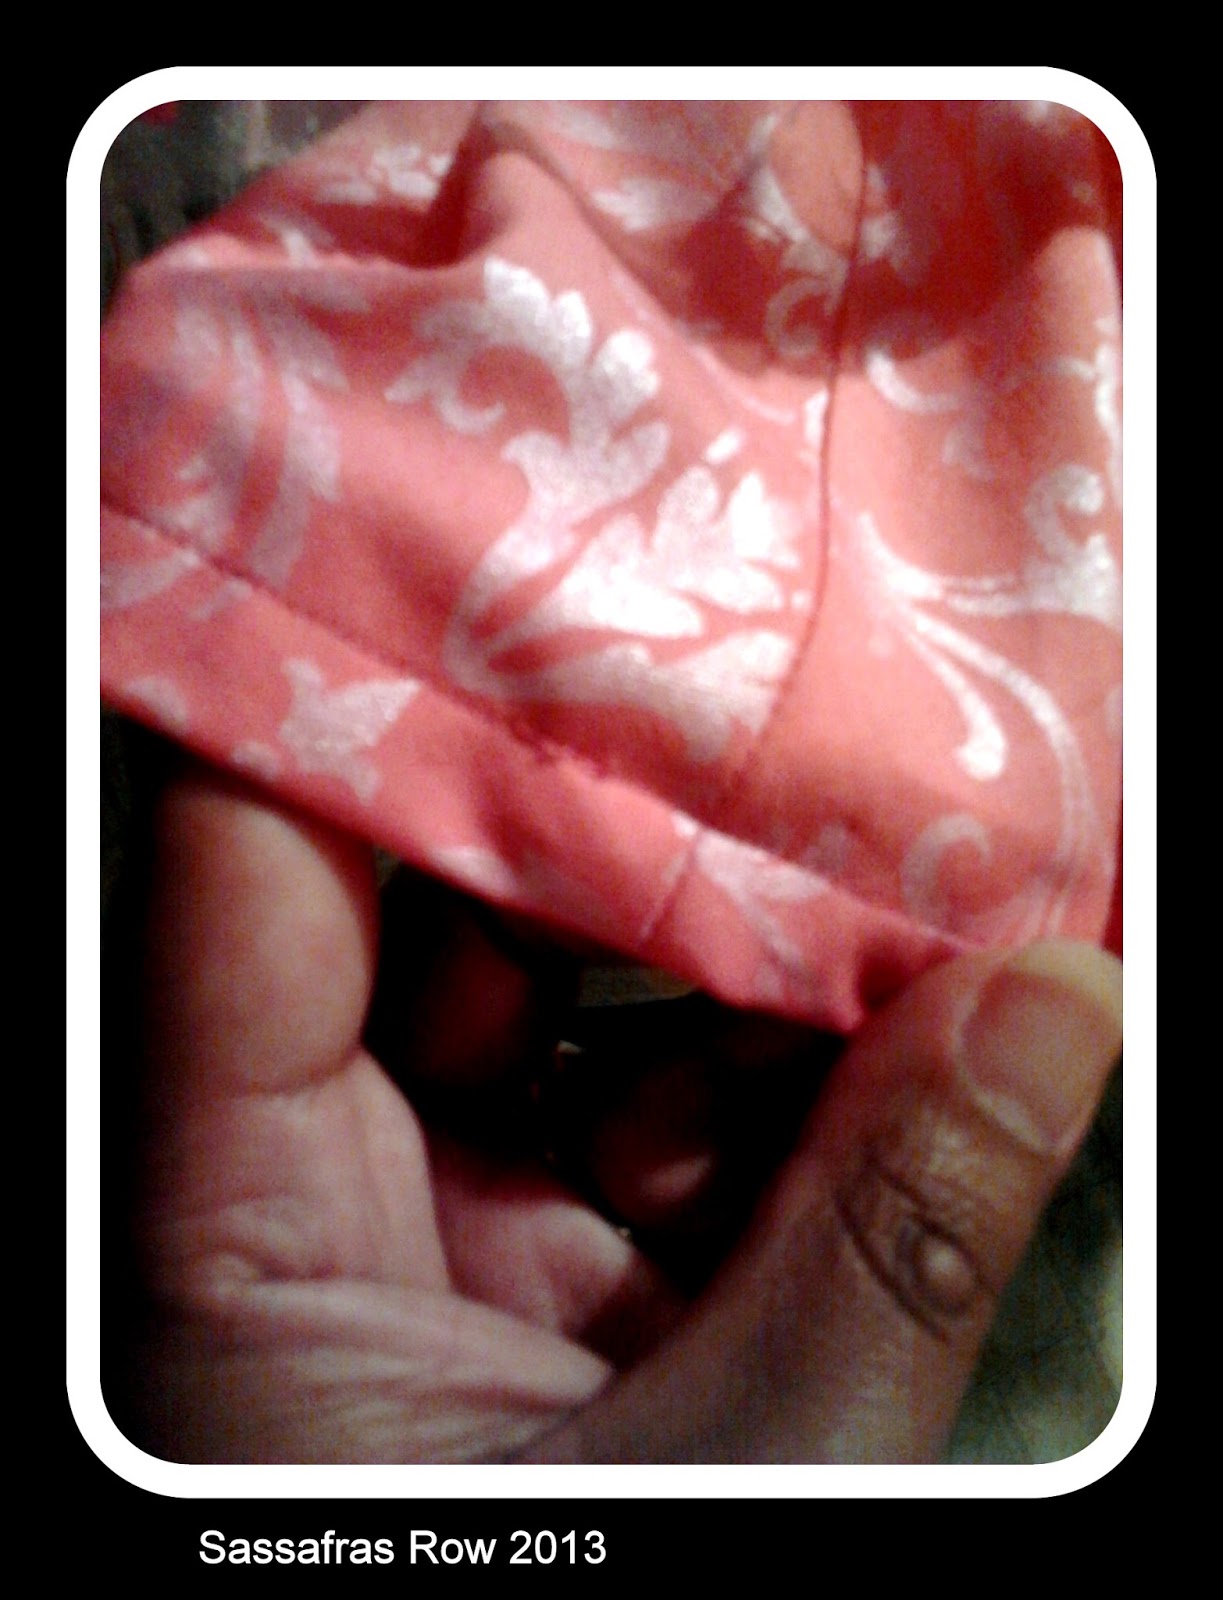
{Sugar Plum Skirt:  Basted Side Seams}

She wanted an A-line skirt, so I drafted the fitted waist and darts as normal, added about 4 inches of ease in the hip (based on her experience, that 3 inches were not enough when she recently made herself a skirt out of a knit fabric), and extended the hemline about 3-4 inches beyond the hip point.

Based on my own experience with the Golden Goddess Skirt, I added only 1/2 inch of ease at the waist.


Cutting, Basting, and Fitting


I basted the side seams, and basted in the zipper.  My Friend FTWDS tried in on, and...


{Sugar Plum Skirt:  Basted Darts}


WTF--It's like four inches too big in the waist!


What is going on here?!


Why, after so much careful measuring, are my skirts coming out too big?!

So, I pinned out about four inches, two inches per side (one inch per seam).  I also put a pin in the hip, at the fullest point.  This way I can easily connect the new waist seam to the original hip seam.  This one will be easier to adjust than the Golden Goddess Skirt, since I only have to connect two points instead of re-drawing the whole shape.

Other than this, I'm very happy with how the shape of the skirt came out!

{The Sugar Plum Skirt:  Basted Zipper}


Sew What? Skirts!

 I was curious whether other people who used the Sew What? Skirts! pattern drafting method have had the same problem with skirts coming out too big.  I did an internet search, and found that, indeed, others have had the same problem:


There is a Flickr group devoted to skirts made from this book, and a bunch of people ended up in discussions about how the patterns turned out too big.

I'm not sure what's causing it, but I have a few suspicions:

  • Extra ease at the waistband is not necessary.  At least, not for me and my friends.  We like our waistbands tightly fitted.

    • (caveat:  you might want a tiny bit of ease if you are making a high-waisted skirt, since you do need some room to breathe, and since your measurements above and below that point will be larger, so it still won't fit if you try to move it up or down.  Remember, though, that the ease in your pattern needs to be multiplied by the number of seams.  Thus, for a two-piece skirt--front and back--1/16 of an inch translates to 1/4 of an inch overall.)

  • When the pattern directions tell you to move the waistband side seam upwards by 1/2 an inch and draw a curved line from the center up to this new point, aren't you making the line a bit longer?  Remember what I said just above about adding even 1/16 of an inch?

  • Maybe it has something to do with how the darts are added?  The method is this:  for each 1/2 inch dart, add 1/2 inch to the side seam.  This is repeated for the back also. 

    • However, I read another method of adding darts--let's say you have a 1/2 inch dart in your front pattern piece, and a 1 inch dart in your back pattern piece.  Altogether, you've already added 1 inch to accommodate the darts for the front (both halves=two darts). 

    •  Since you've already added that 1 inch to the front, you subtract that 1 inch from the amount you need to add to the side seam of the back pattern piece.  This method would have you add only one additional inch to the back pattern piece--two 1-inch darts=2 inches, minus 1 inch=1 inch.  Make sense?  (To accommodate two 1 inch darts in the back, the Sew What? Skirts method would have you add two inches to the back pattern piece.  This seems to add a whole extra inch compared to the other method.)
Obviously, I need to learn more about this.  In the meantime, I will just not add any ease at the waist from here on in.

Till next time,--Ayana

Friday, September 6, 2013

Amanda's Golden Dress

I hit a snag with my own wedding dress planning, during and after some health issues.  I was adrift for about two weeks.  Combine that with the problems with fit in the Golden Goddess and Sugar Plum Skirts (stay tuned for more on this one), and I almost gave up. 

Then, I realized that these are just opportunities to go back to square one, sort of.

A Golden Dress for Amanda

To regain confidence, and to test my newest idea, I decided to draft a dress pattern for Amanda, using some scraps from the Golden Goddess skirt.  Since I am re-making my bodice as a five-gore corset-like top (more on this soon), and since I decided not to have a gathered skirt on my own wedding dress, I began thinking:  why not make the whole dress as a five-gore pattern, with a fitted bodice that flares to an A-line shape in the skirt? 

Advantages:  This avoids a waistline seam, which for me would add longer lines to the design.  That's always good for short people.

Disadvantages:  This requires more fabric, due to the width at the hemline and the length of the pattern pieces, and probably has more seams overall.

Advantage:  A smoother waistline.  I can still use an empire waist, and I could still use a tulle overlay that falls from the empire waistline.  The tulle overlay can be placed asymmetrically, so that there is a kind of "cut away" look to the main fabric underneath. 

Possible Idea:  Place crocheted motifs along the hemline and top of the bodice for a lace-like effect.  We'll see if there's time for that, or if I still want to do it later.

Drafting the Pattern

Little Miss and I worked on this together.  I took measurements at three spots:  under the arms (bust--11"), waist (10"), hips (I didn't end up using this measurement).  I also measured the distance between each of these spots.

{Measurements for the Amanda's Golden Wedding Dress}


To create a well-proportioned A-line shape, I doubled the waist measurement for the hip (20), and multiplied the hip measurement by 1.5 for the hemline (30). 

Would you just look at that--it's a Golden Ratio for a Golden Dress (1:2:3)!


{The Golden Wedding Dress:  Measurements for each gore}


Little Miss helped me draw the pattern.  For simplicity, I made each of the gores 1/5 of the measurement at each point.


These measurements should work for any 16" doll; the left column is the width measurement at the top, waist, hip, and hem, and the right column is the distance between each of these points--feel free to use them to create your own Golden Doll Dress!


I showed Little Miss how to draw a center line the length of the whole dress (12").


{Pattern Piece for the Golden Wedding Dress}

Then, we measured lengthwise each of the points where we will need to create a horizontal line--at 1.25" down for the waist, at 3" down for the hip, and then we double-checked our point for the hemline at 12".

At each of the points, I showed Little Miss how to center the ruler at the center line, and draw a horizontal line the correct width.

We then connected each of the points with the straight edge, smoothed the angles with a French curve, and then trued the seams to 90-degree angles at top and bottom.

Pinning, Tracing, and Cutting

Little Miss and I pinned the pattern on a small length of scrap fabric.  I showed her how to use the grading ruler to trace a 1/2" seam allowance around all the edges.

We took turns pinning, tracing, and cutting.

Since each of the gores is identical, we only needed one pattern piece, but cut it five times. 

All of this took a while; about an hour and a half to this point.  Little Miss wanted to play, so I did the sewing.  (She was mad at me though!)

Sewing it Up!

I simply matched the edges, and sewed the seams, pressing each seam as I went.

I accidentally sewed one of the gores with the textured side out instead of the satiny side out--oops!  I didn't worry about re-doing it, but just made that the back panel.

I left the back seam open from the top to the hip for inserting Velcro closures.

I added a thin elastic to the top.  I measured the elastic by pulling it taut around Amanda, cut it, then sewed it close to the top edge of the fabric on the outside, using a medium zigzag stitch, pulling the elastic to stretch it to the fabric length as I went.

{Zigzag stitched elastic edge}


Then, I folded the edge over and topstitched it, again with the zigzag, pulling it taut as I went so that the fabric wouldn't pucker and gather as I sewed.

Now the elastic top band looks decorative.

I didn't hem it, because we needed to go to a party.  Of course, Amanda needed to wear her new dress!  And, to church the next morning.

{Amanda's Golden Wedding Dress really needs ironing at this point!}


I also didn't put the Velcro in yet, or add the decorative sheer over layer yet.  But just wrapping the sheer fabric around the dress, I can tell that it will look even more fabulous when it is complete.


Don't you just love Little Miss' fashion design, showing me where the "tool" should and shouldn't go?


Now Amanda has a Golden Wedding Dress! (almost)


Till Next Time,--Ayana

Tuesday, August 20, 2013

Finally, Success! A Self-Drafted, Cotton Candy Skirt

Yay, Readers!  I did it!

What did I do?, you might ask.  I made a garment that is not only wearable, but, unlike the first Little Miss skirt, it turned out really great.  And, I drafted the pattern myself.  Now, I'm really on my way!

The Cotton Candy Skirt

So, how did this all come about?

First, I did some more experimenting with old t-shirts for fabric.  I used one old t-shirt to make an ultra-fitted skirt (built to Little Misses's own specifications), to wear to drama camp.  This gave me more experience with stretch knit fabrics. 

I used tissue underneath and on top of the fabric, and pinned my self-drafted pattern (which consisted of her exact measurements from waist to knees, with no wearing ease) carefully on top. 

Before removing the tissue, but after I unpinned the pattern pieces, I zigzag stitched the edges of the fabric all around to prevent the edges from rolling, twisting, and jumping around.  I tore off the tissue when done with this step.  I used tweezers to remove the tissue from under the stitching.

Then, I carefully pinned the front and back pieces together, sewed the side seams, added the elastic to the waist, and hemmed.  Voila, a decent skirt, though obviously homemade.

Then, I experimented with drafting an A-line version, using the instructions from Sew What? Skirts!, by Francesca DenHartog, which I had found in the library and read voraciously.  Other than the new shape, my sewing steps were identical to the previous skirt.

Finally, I decided to stop messing around with torn up old clothes as fabric.  I was going to do it right! 

I found a super sweet, bright pink cotton sateen with a light contrast fleur de lis like pattern at the fabric store. 


As I was walking past the remnants bin, I found a sheer fabric with an embroidered design similar to that on the main fabric!  And, there was just enough. So I snatched it up. 


{I placed some white fabric underneath so you can see the swirl in the sheer fabric}


I also found a bright pink velveteen ribbon for the waistband, and a matching, narrow, frilly ribbon to trim the hem.


 Pattern Manipulation

I took the A-line pattern I had drafted, retraced it, slashed it, and spread it to create a fuller A-line shape. 


I also decided to do all the sewing the right way, no shortcuts! 
I made sure to use the correct grain of the fabric ( I didn't even know what this meant when I first started out). 


Pressing Seams


I pressed to one side, then pressed open, turned under, and sewed my seam allowances.  What a difference this makes!  My seams are so neat and pretty!  It's not just idle work, people. 


Topstitching

I topstitched the waistband ribbon, and threaded the elastic through. 

(Previously, I had stitched the elastic to the top of the waistband on the right side, then turned under twice and stitched, with messy but functional results.) 


I basted the curved hem before pressing, turning it up twice and topstitching.  My topstitching is so neat, you can hardly see where it begins and ends! 


I had another sewing revelation--remove the darn arm table for greater control and paradoxically faster stitching.

Instead of hemming the sheer fabric, I finished it with the frilly ribbon, topstitching again.  This lets the sheer fabric hang down a little longer than the main fabric, and lets the frilly ribbon seem to "float" beneath. 


I thought the ribbon would be enough to prevent the sheer fabric from unraveling at the hem, but alas I needed to use some fray check for extra safety.  I then trimmed away any edges not covered by the ribbon.


 Little Miss LOVES this skirt, and so do I! 

Flower Girl Dress Design Inspiration

If only I had made it in cream instead of pink, it could have served as her flower girl skirt for the wedding.  Of course, she wants a dress that matches mine. 

I'll probably use the same skirt pattern, but use tulle as the sheer overlay, insert a zipper instead of the elastic, and trace a bodice from a sleeveless fancy dress she already owns.  Then, I'll add a waist sash in a contrasting color. 

In fact, I might do that before any further work on my own dress, so I can gain some more experience before cutting into my fancy fabric.  I had thought I would save hers for last, since she is growing, but I doubt she would actually outgrow an entire size in the next eight weeks.  Hmmm, let's see....


Readers, how did you reach your sewing Ah-hah moment?  What was your first favorite project?

Till next time,--Ayana