Tuesday, August 27, 2013

Beautiful Fabric!

We went Fabric shopping!

My Sister, Little Miss, and my Friend from the Wedding Dress Shop went to find fabric for bridesmaids' skirts.  It was brilliant to all go together, so we could compare colors, textures, and find what suited all of us.

Little Miss has a frighteningly good eye for fashion.  I received a lot of design tips for my own dress, which will match hers.

My sister nixed the gathered A-line shape with tulle overskirt--I thought that would be flattering for anyone, but she said not.  So I gave her some of my pattern books to leaf through.  She chose an elegant straight skirt style, modeled on this beautiful skirt from Sew What! Skirts. 

 
Straight skirt with contrast yoke
{Image from:  Sew What! Skirts, p. 86}


We'll call Sweet Sistah's version the Golden Goddess Skirt. 


 The underskirt fabric is shantung satin, shiny on one side and textured on the other, and the overskirt is a sparkly organza. 


It will be beautiful! 


 Color, Texture, and Sparkle


The wedding colors are gold and navy, to match the colors of The Pilot's uniform--


--and plum--one of my all-time favorites (virtually every shade of purple):


As you can see, I bought matching tulle anyway, "for decorations."  That was Sweet Sistah's idea.  She's the artistic one, so I'll let her figure that out.


My goal is to finish Sweet Sistah's skirt before she returns home, or at least have it cut and basted so I can evaluate the fit, and to finish the other two within a week. 

What do you think?  Can I do it?  (Well, I already know the answer to that one, unfortunately.)  So how's this for a question:  what are your favorite fabric colors and textures?

P.S.:  My sewing space is still a mess....


{I love how this photo makes it look like the sewing machine is about to careen off the table!}

Till next time,--Ayana


Saturday, August 24, 2013

Red is the new Color for Fall!

Yay, one of my favorites!  I love red. 

Check out these beautiful new patterns from Burda Style, showcasing the beauty of the color red.

Drool.  As soon as my wedding dress episode is over, I'll be making some of these fall clothes for winter. 

_use_me_large
{source}
Red is the new Color for Fall


Blouses.  Why don't people wear blouses anymore?  I'm a little tired of knit tops.  It's hard to find a good blouse that isn't designed for grandma.  But these Burda patterns are scrumptious.

That's it for today, readers.  I hope this post sparks some inspiration and creativity!

Till next time, --Ayana

Thursday, August 22, 2013

My Sewing Space

What does my sewing space look like?


Inspired by the beautiful spaces featured on Ellison Lane, I decided to share my space with all of you and join the link party.


My sewing space doubles as my kitchen table.  Originally, it was designed to pack up easily so we could have dinner.  All the fabric and notions for current projects could be easily folded, packed, or stored at a moment's notice into my improvised sewing box, and the sewing machine cover could be slipped on, and the whole thing slipped underneath the table.


 My favorite thing about my sewing space is my daughter's little sewing machine lined up near mine.  I jokingly call it "our little sweatshop."  Also, I love that the sewing happens pretty much in the hearth--the kitchen is the center of any house.  It feels more social to use this space, instead of being tucked away somewhere else.


But, sometimes I also want to relocate to my own private nook upstairs.

Fabric

What's on my sewing table at the moment?  A gorgeous sparkly gold organza fabric for the overskirt of my Sweet Sistah's bridesmaid skirt.  And a matching shantung satin for the underskirt. 


If you look closely, you'll find some other things, too. 


It's sort of like playing "Where's Waldo" except it's more like, "WHERE did I put that NEEDLE I just had in my hand?"


Organization Issues


Well, let me tell you readers, despite my best plans at organization, all my creative spaces end up looking like a serious mess after a while.  You think this is bad, you should see my office! 

For some reason I resist cleaning up while I'm still in the middle of a project.  So I just keep limping along with stuff piling up until I get sick of it and then go on a cleaning binge.

I know, I know.  I'm working on it. 

In the meantime, we eat outside in the beautiful weather on the deck.  It feels like a mini vacation.  Or, in the dining room.  Which is quickly becoming a temporary school work area.

We haven't had friends over for dinner in a while....

Till next time--, Ayana

Tuesday, August 20, 2013

Finally, Success! A Self-Drafted, Cotton Candy Skirt

Yay, Readers!  I did it!

What did I do?, you might ask.  I made a garment that is not only wearable, but, unlike the first Little Miss skirt, it turned out really great.  And, I drafted the pattern myself.  Now, I'm really on my way!

The Cotton Candy Skirt

So, how did this all come about?

First, I did some more experimenting with old t-shirts for fabric.  I used one old t-shirt to make an ultra-fitted skirt (built to Little Misses's own specifications), to wear to drama camp.  This gave me more experience with stretch knit fabrics. 

I used tissue underneath and on top of the fabric, and pinned my self-drafted pattern (which consisted of her exact measurements from waist to knees, with no wearing ease) carefully on top. 

Before removing the tissue, but after I unpinned the pattern pieces, I zigzag stitched the edges of the fabric all around to prevent the edges from rolling, twisting, and jumping around.  I tore off the tissue when done with this step.  I used tweezers to remove the tissue from under the stitching.

Then, I carefully pinned the front and back pieces together, sewed the side seams, added the elastic to the waist, and hemmed.  Voila, a decent skirt, though obviously homemade.

Then, I experimented with drafting an A-line version, using the instructions from Sew What? Skirts!, by Francesca DenHartog, which I had found in the library and read voraciously.  Other than the new shape, my sewing steps were identical to the previous skirt.

Finally, I decided to stop messing around with torn up old clothes as fabric.  I was going to do it right! 

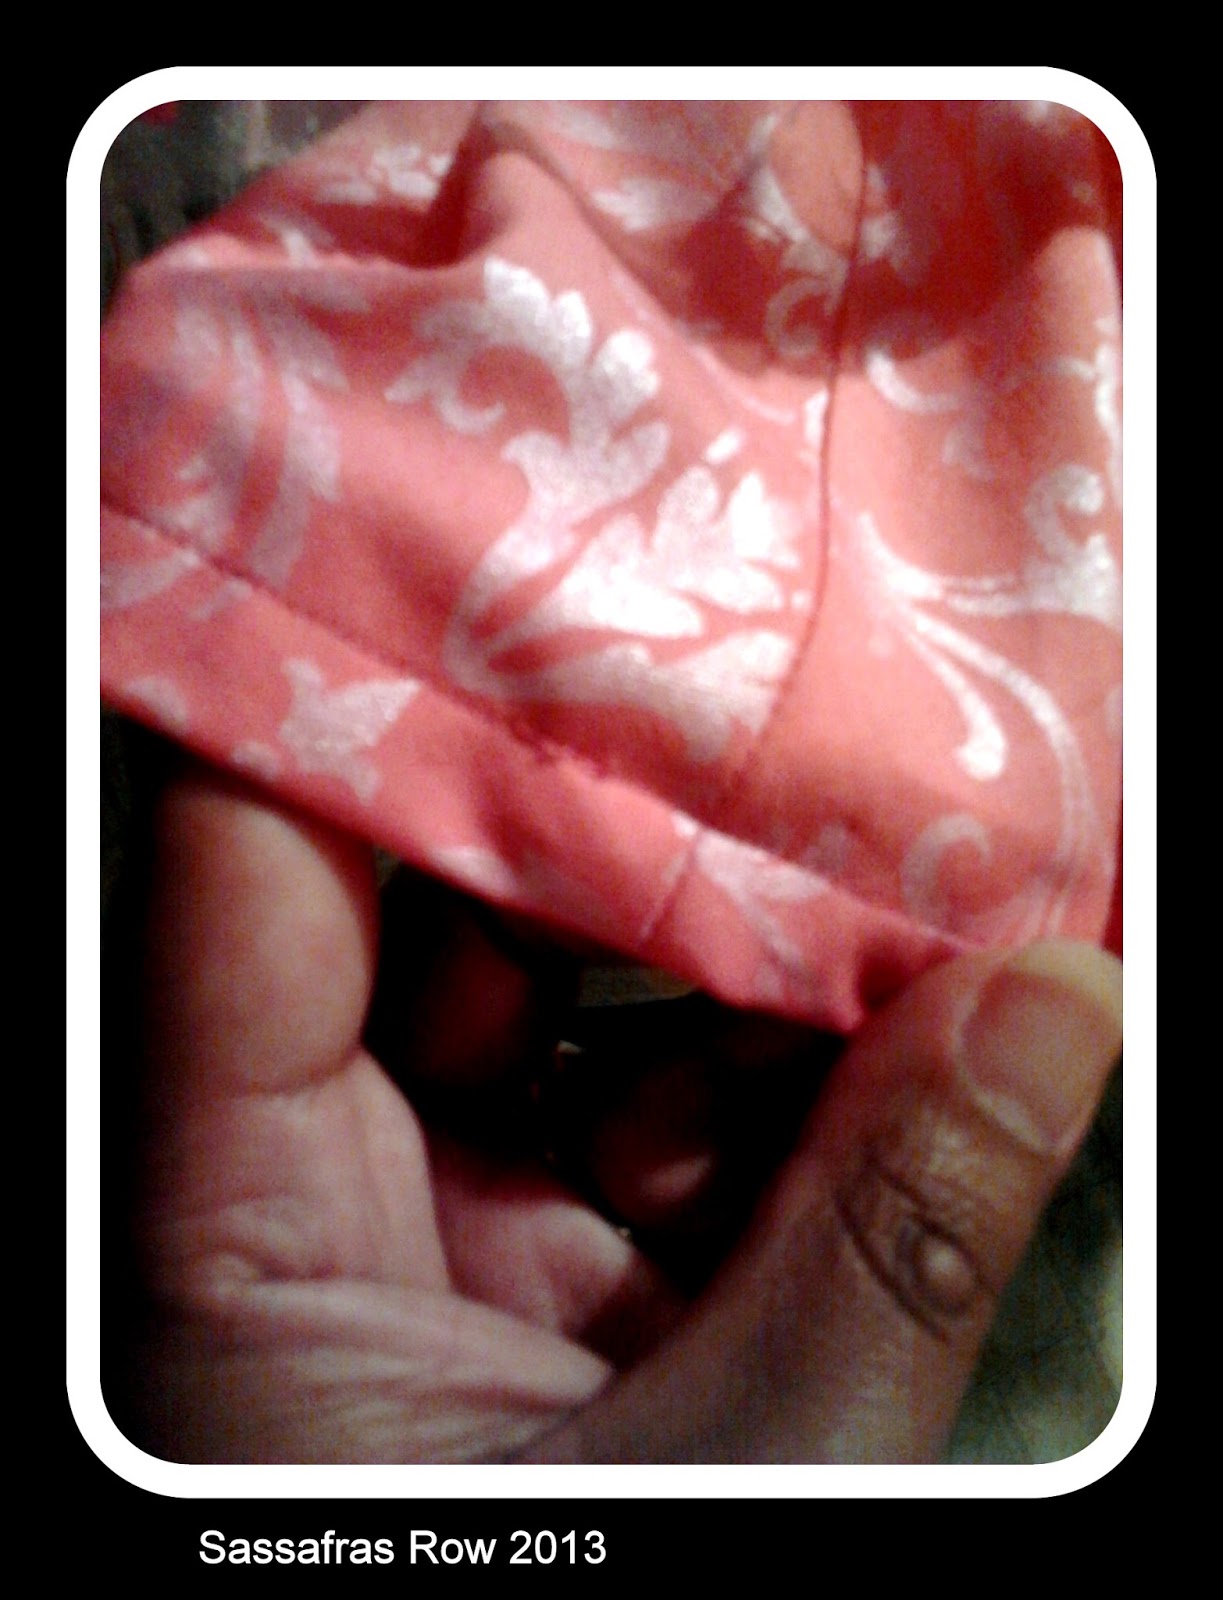
I found a super sweet, bright pink cotton sateen with a light contrast fleur de lis like pattern at the fabric store. 


As I was walking past the remnants bin, I found a sheer fabric with an embroidered design similar to that on the main fabric!  And, there was just enough. So I snatched it up. 


{I placed some white fabric underneath so you can see the swirl in the sheer fabric}


I also found a bright pink velveteen ribbon for the waistband, and a matching, narrow, frilly ribbon to trim the hem.


 Pattern Manipulation

I took the A-line pattern I had drafted, retraced it, slashed it, and spread it to create a fuller A-line shape. 


I also decided to do all the sewing the right way, no shortcuts! 
I made sure to use the correct grain of the fabric ( I didn't even know what this meant when I first started out). 


Pressing Seams


I pressed to one side, then pressed open, turned under, and sewed my seam allowances.  What a difference this makes!  My seams are so neat and pretty!  It's not just idle work, people. 


Topstitching

I topstitched the waistband ribbon, and threaded the elastic through. 

(Previously, I had stitched the elastic to the top of the waistband on the right side, then turned under twice and stitched, with messy but functional results.) 


I basted the curved hem before pressing, turning it up twice and topstitching.  My topstitching is so neat, you can hardly see where it begins and ends! 


I had another sewing revelation--remove the darn arm table for greater control and paradoxically faster stitching.

Instead of hemming the sheer fabric, I finished it with the frilly ribbon, topstitching again.  This lets the sheer fabric hang down a little longer than the main fabric, and lets the frilly ribbon seem to "float" beneath. 


I thought the ribbon would be enough to prevent the sheer fabric from unraveling at the hem, but alas I needed to use some fray check for extra safety.  I then trimmed away any edges not covered by the ribbon.


 Little Miss LOVES this skirt, and so do I! 

Flower Girl Dress Design Inspiration

If only I had made it in cream instead of pink, it could have served as her flower girl skirt for the wedding.  Of course, she wants a dress that matches mine. 

I'll probably use the same skirt pattern, but use tulle as the sheer overlay, insert a zipper instead of the elastic, and trace a bodice from a sleeveless fancy dress she already owns.  Then, I'll add a waist sash in a contrasting color. 

In fact, I might do that before any further work on my own dress, so I can gain some more experience before cutting into my fancy fabric.  I had thought I would save hers for last, since she is growing, but I doubt she would actually outgrow an entire size in the next eight weeks.  Hmmm, let's see....


Readers, how did you reach your sewing Ah-hah moment?  What was your first favorite project?

Till next time,--Ayana

Sunday, August 18, 2013

Knitting with Stripes

I found a great idea today on Pinterest, for knitting stripes.  It's so simple, yet so appealing!


K1 P1 across on first row of each color..This would be a great way to use up a stash of yarn!
Knitting Stripes
{Original Source}

The basic idea is to alternate colors for any set number of rows that you wish.  But, on the row that you switch colors, you k1 p1 across the whole row.  All of the other rows are knit in basic stockinette stitch.  What I love about this is the texture created on the k1 p1 rows.  Simple! but Elegant!

Stash Busting

Knitting in stripes is a great way to bust your stash.  You may not have enough of any one yarn for a large project, but together many odds and ends yarns can be joined.  Or, you can mix an expensive yarn, "stretching it out" so to speak, by alternating with something more basic. 

This can also be a great way to use novelty yarns, which might be too much of a good thing for a large project, but would look elegant alternating with a background color.

Alternating Colors in Your Knitting

While I love the idea pictured above, I'm not as fond of the rainbow.  I prefer something a little less regular, or maybe a little more surprising.  Here's how you can get a more artistic effect.

1) Use the Golden Ratio.  1:2:3:5 


Color A: knit Row 1.  Color B:  knit Rows 2-3.  Color A: knit Rows 4-6.  Color C:  knit Rows 7-11

Continue this pattern, either keeping the same color scheme, or creating new ones while maintaining the same number of rows at each new color change.  This generates a sense of randomness that is still balanced.


2) Use the ratio of each color to the other(s). 


This works best when you have odd amounts of yarn. 

Let's say you have 4 oz. of Color A, 6 oz. of Color B, and 8 oz. of Color C.  (I just chose random, but easy-to-work-with numbers.)

For every 4 rows worked in Color A, work 6 rows in Color B, and 8 rows in Color C.

This can be broken up into smaller chunks, as long as the ratio remains the same.

For example.  If you want smaller repeats of color.  Color A:  knit Row 1-2.  Color B:  knit Rows 3-5.  Color C.  knit Rows 6-9

You could then alternate this with both larger and smaller repeats for variety.

The benefit of this method is that you will not run out of one color before you've finished the whole project.

Designing Knitting with Stripes

These ideas can be incorporated into any type of knitting project, from home decorating (throws, pillow covers) to garments (hats, sweaters, mittens, scarves, shawls).  If you are making a larger project, or a fitted garment, of course you have to be careful with gauge, yarn weight, and yardage.  However, if you are making a scarf or hat, feel free to experiment away!

For the time being, my knitting page is just about ideas.  After the wedding dress is finished, I can make knitting tutorials!  Yay!

Till next time,--Ayana

[Find me on Pinterest]